Search this blog

Showing posts with label Melody Ross. Show all posts

30 September 2018

Artist Trading Coin: Enjoy Life

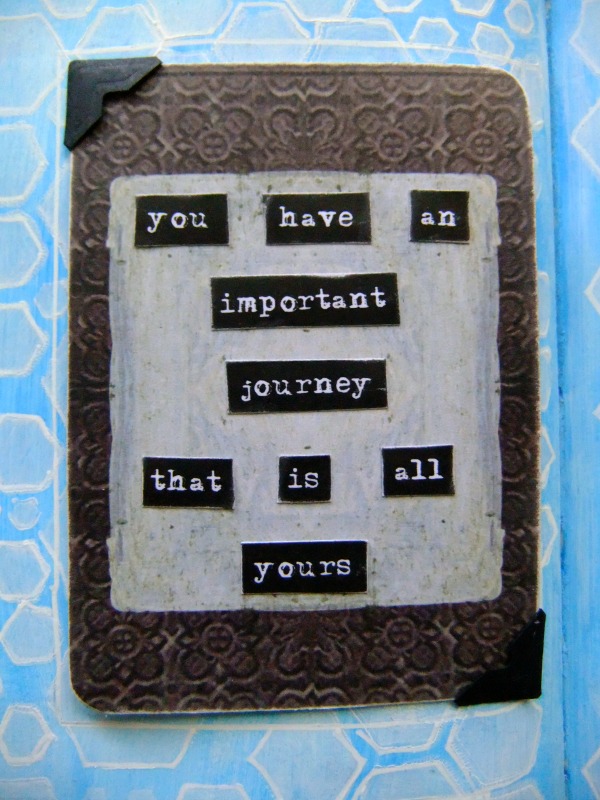
This is my final Artist Trading Coin using
an MDF round surface from That's Crafty,
which has a 2½ inch diameter.


I used a Tim Holtz Paper Doll
& the rest is from Brave Living.

I punched a hole through the top,
with a Crop-A-Dile
to add some fibres.

Here is a group shot of the other nine coins.


Click here to see details of all the other coins.

18 April 2018

a quiet word or two

Those of you among us who already receive the daily email
from Melody & Kathy at Brave Living,
may have seen that Melody has started a weekly newsletter called

Yesterday I spent the afternoon with the last two weeks worth of prompts.

I turned Melody's graphics into inchies,
1 inch by 1 inch little tiles.

These are for when you feel doubt.


These are for when you are weary.


I used mountboard for my bases,
which I had already cut out & were lurking in my Project drawer.

The background uses patterned paper from past Brave Living projects,
again found lurking in a drawer.
These were both backgrounds for Truth Cards.

All I needed to do was print out Melody's artwork from her newsletter
& put them together.

I love the calming  relaxing nature of fine cutting
& sanding the edges. 

Now I need to finish off writing in my journal,
before the next edition arrives.

16 November 2017

A pocket full of Soul

So I was sitting staring at the last few blank playing cards
from the #52CafeCards challenge
wondering how to finish the project
before the end of the year.

It was Week 46, but I had 14 cards left of my 52 card pack.

Then, I had an idea.


A pocket size version of my recently completed SoulBook.

I took photographs,
imported them into a Word document to resize & crop,
then printed them out.

Added some washi tape to the sides,
some Glossy Accents where the glitter gems were ...

... et voila.  

10 November 2017

All wrapped up

As promised, here are the photographs of my completed SoulBook,
which I made alongside more than 3000 others around the world for
the SoulBook Gathering event
held by Melody Ross, her sister Kathy Wilkins
& all the Brave Living team.


So let's unwrap this ...


 There is a hidden pocket on the last page, on the inside of the back cover.


You can see on this post, details of what the basic book was made from.

The background papers I have had for years,
from a K & Company project kit
I think originally from QVC,
as were the glitter gems.

The ribbons I dug out from the back of a cupboard
& again I have had those for ages, origins unknown.

The additional images were all from PDFs
from Melody's classes at Brave Girl University,
with one single exception.

The image of the little girl near the back of the book
is from my own resource (a thrift shop purchase).

All I needed was to restock my Matte Mod Podge,
add a little washi tape from Tim Holtz &
a piece of his kraft cardstock to make the pocket envelope
& my inkjet printer.

If you have made one too,
leave a link to yours in the comments below.

I look forward to seeing them.

26 October 2017

SoulBook - Part Two

Following on from yesterday's blog post,
below are a few more photographs
showing the progress as I continue to create my SoulBook,
as part of the SoulBook Gathering event organised
by Brave Living.

First up is the front cover.

I wanted to honour the origin of the structure of my book,
which was made from cardboard postage boxes
from the Brave Girls Club.

I used a piece of silk screen printed vellum,
so that I could still see the original artwork through it.


I left a free edge so that I can lift the vellum to see the artwork underneath.


I have also begun work on the introduction page,
with a few more elements cut from the boxes.


I hope you enjoyed this peek into my creative process.

I'll write another post once I have completed the whole book.

Meanwhile, if you want to join in, it's not too late,
just pop over to their website for all the details
or their Facebook Group.

24 October 2017

SoulBook - Part One

In my previous blog post I mentioned the SoulBook event
organised by Brave Living,
the new name for Brave Girls Club.

I've watched Melody's how-to videos & started to plan my book. 

I need to restock my Mod Podge supply
before I can start to collage the backgrounds etc,
but I have constructed the basic structure of the book.

I have used old Soul School Brave Boxes,
each cardboard page measuring 4" by 6" (approx 10 cm by 15cm).


Ten pages in total, the two covers & eight pages inside.

The edges of the inside pages are protected with adhesive backed fabric tape
& the fabric on the spine is by British designer Vanessa Arbuthnott (I'm a big fan).

I am now spending time,
quiet moments,
reflecting on which words to include inside,
& gathering papers, embellishments etc
to decorate the cover & pages.

21 October 2017

Soul to Soul


In case you haven't heard the news
Brave Living
(formerly Brave Girls Club)
is launching a worldwide event on 28th October 2017.

The idea is based on one of their online classes, SoulBook
but this time, the idea is to create your own individual book
together in groups, with friends, family
or with future friends.

Even if you have made this book in the past,
if feels the right time to revisit this BGU lesson
& examine what we need right here, right now.

I will be working through the lesson on my own again
& share what I can here on my blog.

Click the image below for the full details.


It's free to join in
& you can use whatever supplies you have to hand.

You don't need anything fancy,
you can make your own book using cardboard for the pages
& your choice of embellishments, papers, paints, colours etc.

Just print off the free PDF & you are ready to start.

There is also a Facebook Group you can join.

The aim is to refocus on what is important to you,
right now.

30 July 2016

Art Journal Week 29

This is my art journal page for week 29.


I have followed the prompt on Colour Me Positive (CMP),
which was Journey.

Truth Card
Words are taken from an image by BGU.


To create the background, I first coated the page in white gesso,
then added a layer of
Americana multi-surface Neon acrylic paint by DecoArt (blue).


Once dried, I applied more white gesso through a Dylusions stencil (Honeycomb Small)
using a Tim Holtz Mini Blending Tool.


These are more BGU images,
resized as Inchies.


All paper & images shown on this page are from BGU.


23 July 2016

Art Journal Week 28

This is my art journal page for week 28.


I have followed the prompt on Colour Me Positive (CMP),
which was smile.


This page holds my Artist Trading Card (ATC)
for The Craft Barn Alpha Challenge.
You can see more detail here.


To create the background, I first coated the page in white gesso,
then applied a thin layer of watered down acrylic paint (Pistachio),
dabbing the excess off with paper towel.


I drew my grid with two different pencils,
smudging the Stablio All lines with my waterbrush
& used some Tim Holtz tissue tape as a page divider.

I also used:-
Paper from BGU
Butterfly from Crafty Computer Paper (now Homecrafts)
Printed Text

Here are pages for week 27 & 28 together.


16 July 2016

Art Journal Week 27

This is my art journal page for week 27.


I have followed the prompt on Colour Me Positive (CMP),
which was Do It.

I couldn't decide what I was going to do for this week,
so I just started & this is how it ended up.


To create the background, I first coated the page in white gesso,
then applied a thin layer of watered down acrylic paint (Pistachio),
dabbing the excess off with paper towel.


This is the same paint as I used for weeks 2, 5 & 6,
so you can see the difference in pigment intensity
by applying the paint this way.


I drew my grid with two different pencils,
smudging the Stablio All lines with my waterbrush
& used some Tim Holtz tissue tape as a page divider.
.
I also used:-
Paper from BGU
Dymo tape
Printed Text

04 May 2016

Art Journal Week 17

This is my Art Journal page for Week 17.


This page holds my Truth Card for this month,
using patterned paper from
Brave Girl University (BGU).


The butterfly is also from BGU.


I have followed the prompt on Colour Me Positive (CMP),
which this week was about Friendship.


To create the background, I first coated the page in white gesso,
then added layers of acrylic paint (using Black, White & Aged Silver).


I finally added a little sprinkle of Perfect Pearls (Pewter) from Ranger.

Update

Whilst I was working on my page for Week 18,
on the opposite side of the journal,
I made a few revisions to this one.


06 April 2016

Art Journal Week 13

This is my Art Journal page for Week 13.


This page holds my Truth Card for this month's lesson
at Brave Girl University (BGU),
entitled Bravely Asking.


I have followed the prompt on Colour Me Positive (CMP),
using a quote from Thoreau.


The patterned papers are from BGU.


To create the background, I first coated the page in white gesso,
then I used a layer of acrylic paint (Waterfall) applied with a dry brush.

I then used an Anna Griffin floral stamp with Distress Ink (spiced marmalade),
& added the grid with a gold Uni-Ball Signo pen,
doodling around the edge of the page.