Strange how things come back around.
I purchased a couple of black fine point Sharpie pens in the supermarket this week ... just because ... didn't need a reason.
Then something else happened which prompted me to create
Zentangles again.
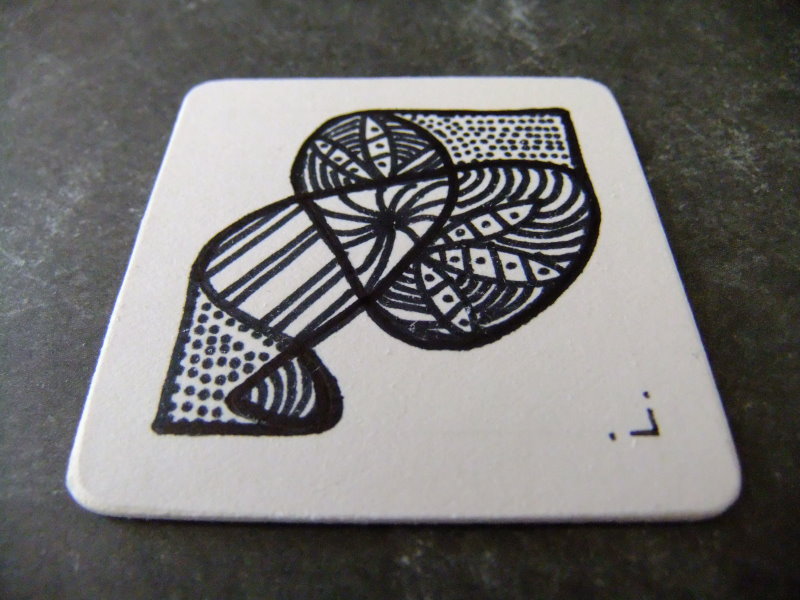
For the first one, I followed the strict rules, bar one. The size of my z tile should be 3½ inches square, but I made mine 2 inch square, commonly known as a Twinchie. My tile is made from white mountboard.

I draw the grid & string image lightly with a pencil, then picked up my Sharpie to play.

I rounded the corners (as instructed) using a previous unused pair of nail clippers to snip off the sharp edges & smoothed them with my craft emery board.
The process of rounding off the corners & the fact that I was using a permanent ink pen, draw me into picking up a domino & away I went ...

I really need a ultra fine point to work on small pieces like this ... I need to find my stash of blank drinks coasters ... now where did I put them?
Zs are perfect for holiday crafting, as all you need to take with you are some blank tiles, a pencil, eraser (to rub away the grid lines) & a pen.